Maze Game: Characters, Enemies and Maps.
Welcome to part two of the Sprig Batch Jam! This and the next two parts will guide you through making your own maze game. While some code is included in the editor, you’ll be largely creating your own! But never fear; as always we have hints and solutions.
If you haven’t already, click here to view the session that this tutorial is part of.
The Plan!
- Make some characters!
- Draw up your levels
- Add controls to move your player
- Make walls actually work
- Add logic to make levels and goals work
- Wrap-up!
1. Make some characters!

A sprite is anything that is visible on your game, except for text and background.
Your game needs at least three sprites. Create the sprites in code, and design their visuals!
Hints:
What sprites do I need to create?
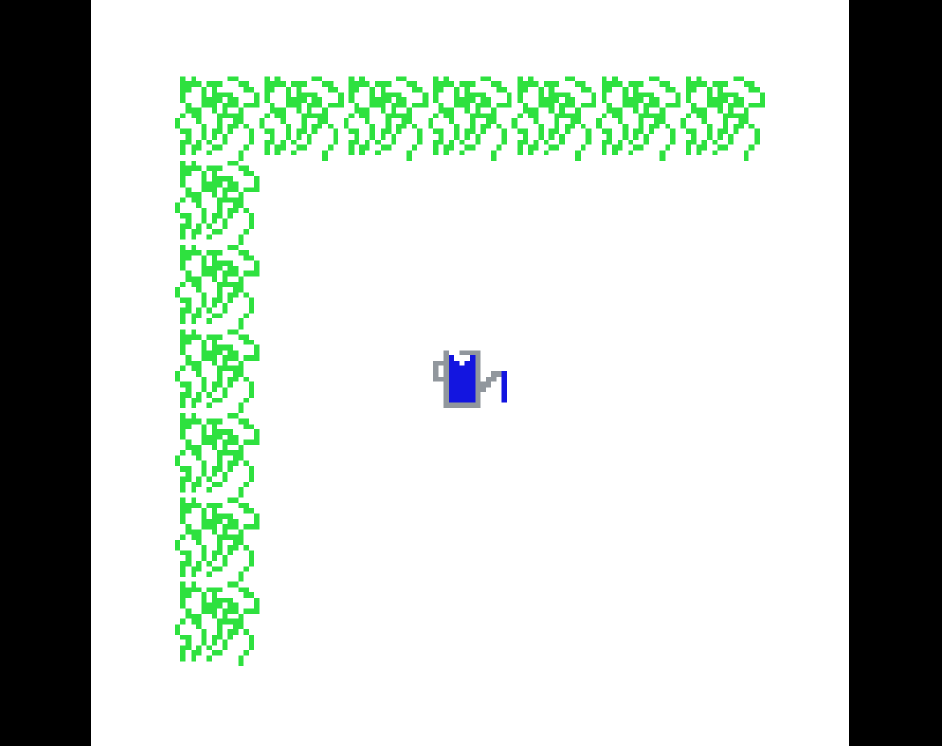
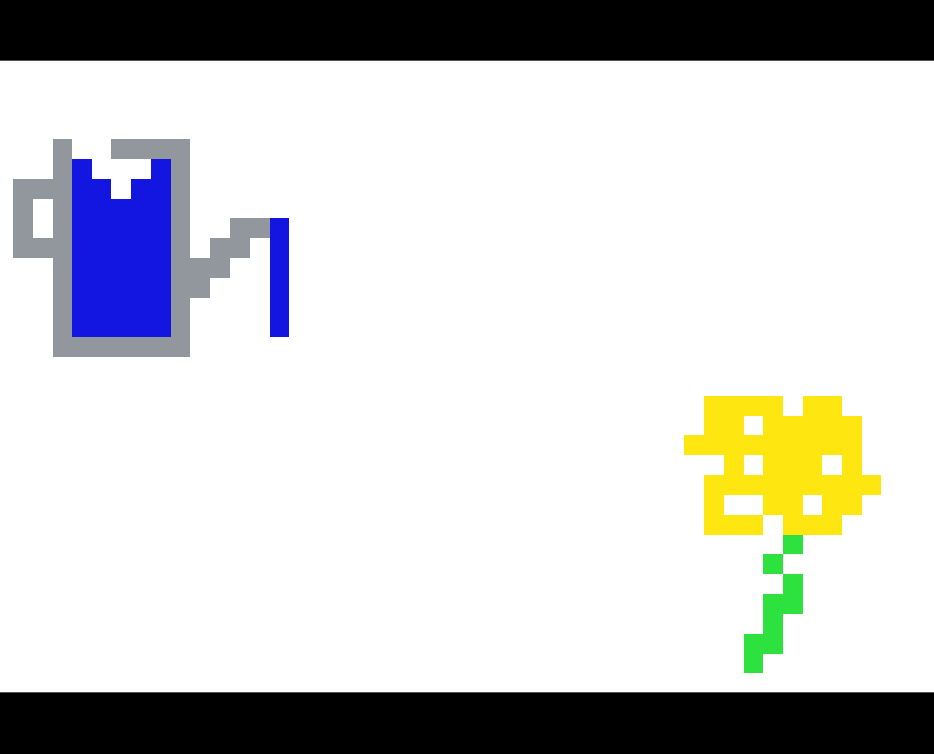
Each of the tiles/components of the game must be represented as a sprite, such as characters, blocks, enemies, targets, etc. - everything that is drawn on the screen, except for text and backgrounds. Make one sprite for each of the things you’ll need in your game.
How do I create sprites?
Search the toolkit for setLegend to create sprites and assign art to each.
I've tried my best. Show solution.
In Sprig, a sprite is represented by a single letter (a key) and a variable name. Each key and name must be unique!
Repeat for each of your sprites. For this first sprite, the variable name is player and the key is "p"
const player = "p";
const wall = "w";
const goal = "g";
Then, assign art to each sprite using setLegend; the characters after bitmap are backticks.
setLegend(
[ player, bitmap``],
[ wall, bitmap``],
[ goal, bitmap``]
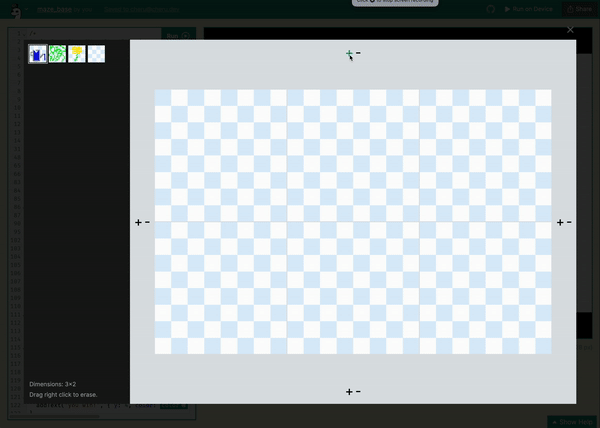
);Once written in the Sprig editor, click on each of the green bitmap buttons to edit the sprites!
2. Draw up your levels
A maze game needs a variety of levels! Let’s make two levels to play through. Feel free to take creative liberty with these!
Hints:
How do I create levels?
Start by creating a variable to keep track of which level you’re on, like this:
let level = 0;Then search the toolkit for setMap and take a look at how lists of levels are defined.
When you want to set the current level, use setMap(levels[level]), which sets the current map to the item in the list of levels at the index represented by level.
When level is 0, levels[level] is equivalent to levels[0], because the variable level represents the number 0. levels[level] will always represent the current level, no matter what level is set to.
I've tried my best. Show solution.
First, we’ll need a variable to keep track of which level we’re on. Levels start from zero and count up!
let level = 0;We’ll store our levels in an array. Arrays are lists of elements which we can use to store all our levels.
const levels = [
    map``,
    map``
];
Click on each of the green map buttons to edit the maps!
PS: We can move to the next level like this:
level = level + 1 // increment the level number by 1
setMap(levels[level]) // update Sprig to the level represented by the level number
3. Add controls to move your player

You need to be able to move your player! Add controls to move in all four directions and to reset the level.
Hints:
How do I add controls?
Search the toolkit for onInput to react to button presses, and take a look at the onInput code already written in the editor!
How can I reset the current level?
Use setMap with the current level (levels[level]) to reset the map!
I've tried my best. Show solution.
For player movement, we’ll want to use an onInput function for each direction, and in each move the player in a different way.
onInput("w", () => {
    getFirst(player).y -= 1; // negative y is upwards
});

onInput("a", () => {
    getFirst(player).x -= 1;
});

onInput("s", () => {
    getFirst(player).y += 1; // positive y is downwards
});

onInput("d", () => {
    getFirst(player).x += 1;
});
To reset the level, we can set the current map to the original current level, like this:
onInput("j", () => {
    setMap(levels[level])
});
4. Make walls actually work
If you’ve tried play-testing your game yet (click the green run button in the corner!), you might’ve noticed that your character can walk through the walls.
You’ll want to make your player and walls solid in order to avoid this!
Hints:
How do I make my sprites solid?
Search the toolkit for setSolids!
I've tried my best. Show solution.
Pass your player and wall sprites into setSolids, like this:
setSolids([ player, wall ]); // sprites cannot go inside of these blocks5. Add logic to make levels and goals work
Let’s make our game actually work! There’s four parts to this step:
- Detect if your player is overlapping with a goal
- Check if there are more levels left.
- If there are still more levels left, move to the next level
- If you just finished the last level, show a win screen
Hints:
How can I run code whenever my player overlaps with a goal?
Search the toolkit for afterInput to run code after every button press! We can check if we’re overlapping a goal in this code block.
Then, use tilesWith (again, search the toolkit) to count how many tiles there are that contain both the player and goal. If the length of this array > 0, the player is overlapping a goal.
Finally, use an if/else statement to run certain code when the number of goals covered is above zero, and other code when it’s not.
afterInput(() => {
    const numberOfGoalsCovered = // fill in this part using tilesWith!

    if (numberOfGoalsCovered > 0) {
        // run code when player overlaps with goal
    } else {
        // run other code when player is not on goal
    }
})
How do I check if there are more levels left?
You can use another if statement! Increment the current level number, then check if the level number is a valid level (if its index is less than the number of total levels); if it is, you can progress to the next level, and if not you’ve won the game!
// increment the current level (look back to step 2!)

if (level < levels.length) {
    // change to next level!
} else {
    // show win screen!
}
How do I move to the next level?
After you’ve incremented level by one to change the level number, reset the map by searching the toolkit for setMap, and using it with the current level! This is similar to how you added a reset button in step 3.
How do I show a win screen?
Search the toolkit for addText and have it display something like “you win”!
I've tried my best. Show solution.
// these get run after every input
afterInput(() => {
    const goalsCovered = tilesWith(player, goal); // tiles that both contain the player and goal

    // if at least one goal is overlapping with a player, proceed to the next level
    if (goalsCovered.length >= 1) {
        // increase the current level number
        level = level + 1;

        // check if current level number is valid
        if (level < levels.length) {
            setMap(levels[level]);
        } else {
            addText("you win!", { y: 4, color: color`7` });
        }
    }
});